- Swim Teach Home
- teaching tips
- Swimming Teaching Techniques
Swimming Teaching Techniques: The Methods I Use in Every Lesson
By Mark Young
If you've ever finished a lesson thinking "that should have worked better", you're not alone. Every swimming teacher has days like that. Most of the time the answer isn't a clever new drill; it's getting a few basic teaching techniques right, every lesson.
The main swimming teaching techniques are: choosing the right water depth for the swimmer, teaching whole-part-whole, watching the whole stroke before deciding what to work on, giving good demonstrations, standing where everyone can see and hear you, and correcting one thing at a time. Here's how I use each one on poolside.
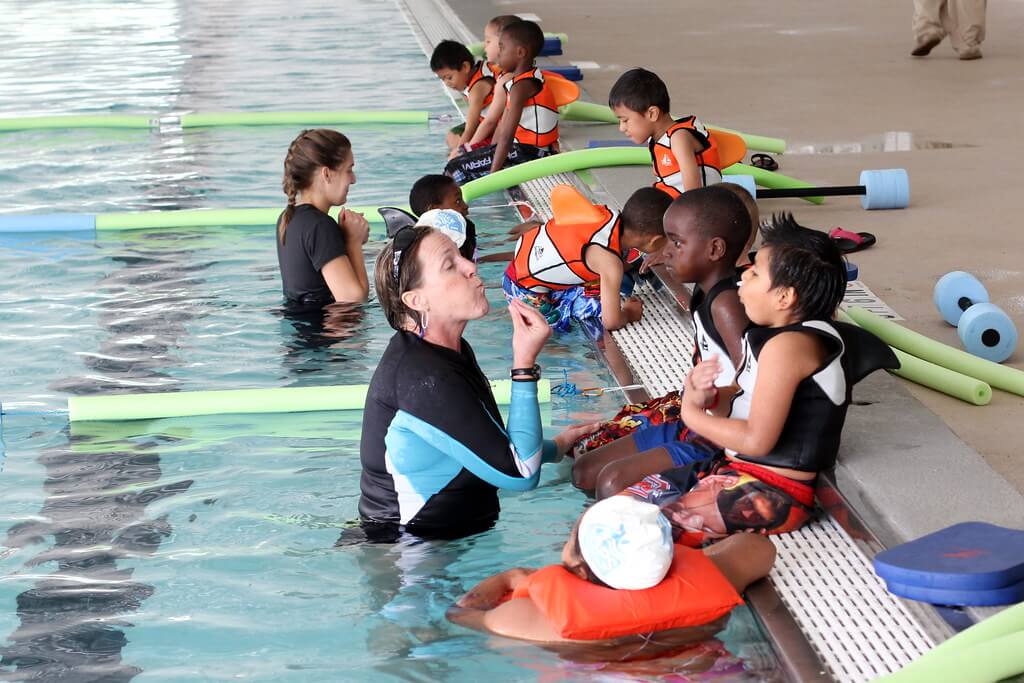 "Swim lessons at Danny Jones" by North Charleston is licensed.
Whole-part-whole: the technique behind every stroke lesson
Whole-part-whole is basically a three-step loop. Let the swimmer try the whole stroke first, so you can see what they can already do. Then break it into parts and practise the weakest one with a drill. Then put it back together into the whole stroke again.
The reason it works is simple. Swimmers learn the parts faster when they've felt the whole stroke, and a drill only matters if it improves the whole stroke afterwards. One of the most common things I see is a swimmer who does a beautiful drill and then swims exactly as before. If you never go back to the whole, you'll never know whether the drill helped.
For beginners, the "whole" might just be a few metres with a woggle. That's fine. Keep in mind that it's the loop that matters, not the distance.
Breaking a stroke into parts (and where BLABT fits in)
Every stroke can be broken into five parts: body position, legs, arms, breathing and timing. Many teachers remember them with the acronym BLABT, and I still use it, but only as a memory aid and a checklist for watching a swimmer, not as a teaching order.
Years ago, swimming teachers were often taught to work through the parts in that exact order on every swimmer: body position first, then legs, then arms, and so on. You'll still find it described that way in older books and courses. Most teachers don't work like that now, and for good reason. If a swimmer's biggest problem is kicking from the knees, spending part of the lesson on body position just because it comes first in the acronym doesn't help them.
The approach that works is simple. Watch the whole stroke, find the part that's holding the swimmer back most, and start there. Sometimes that does turn out to be body position, because a sinking head or hips can cause problems everywhere else. But it's the swimmer in front of you that decides, not the acronym.
Where BLABT is still genuinely useful is as a quick mental checklist when you're watching. Run through the five parts in your head and it's much harder to miss something.
Here are drills for each part of each stroke. Pick the ones that match what your swimmer actually needs.
| Front crawl | Breaststroke | Backstroke | Butterfly | |
|---|---|---|---|---|
| Body position | Push and glide from the poolside | Push and glide from the poolside | Push and glide on the back | Dolphin dives |
| Legs | Kicking holding a float out in front | Kicking with a float under each arm | Kicking with a float under each arm | Kicking on the back, using floats for support |
| Arms | Single-arm pulls, holding a float with the other hand | Arm pulls walking through shallow water | Single-arm pulls with a float held on the chest | Push and glide, adding arm pulls |
| Breathing | Trickle breathing, holding a float and kicking | Slow arm pulls with a woggle, adding breaths | Arm pulls with an in-out breathing pattern | Arm pulls walking through shallow water, adding breaths |
| Timing | Catch-up, using a float | Slow swimming with a woggle: pull, breathe, kick, glide | Full stroke, counting three kicks for each arm pull | Push and glide, adding arms and legs: kick, pull, kick, recover |
I go into each stroke in much more detail, with drills, teaching points and common faults, in How to Teach Front Crawl, How to Teach Breaststroke, How to Teach Backstroke and How to Teach Butterfly.
Shallow water or deep water method?
Where you teach makes a big difference to how a swimmer learns.
The shallow water method uses water where the swimmer can stand comfortably. It's the natural starting point for beginners. In very shallow water, young children can even support themselves with their hands on the pool floor while they practise kicking. Confidence comes quickly and breathing is easy. The catch is that swimmers can become dependent on being able to stand, and in very shallow water you can't teach them to regain their feet properly.
The deep water method means teaching where the swimmer can't stand, usually with buoyancy aids and sometimes with an assistant in the water. It builds stamina, strength and real confidence in deep water, and often encourages a steadier breathing pattern. But it needs swimmers who are ready for it, and with bigger groups the safety risks go up.
The main thing is not to choose one forever. Most swimmers start shallow and move into deeper water as their confidence grows, and some nervous swimmers need to go back and forth for a while.
Demonstrations: show it, then say one thing
Most swimmers learn far more from seeing a skill than from hearing about it. A good demonstration is short, clear and focused on the one thing you want them to notice.
Show it from the angle that matters (from the side for body position, from the front for arm entry), then give one teaching point and get them moving. If you can't demonstrate it well yourself, use a confident swimmer from the group. They'll love being asked, and the others often copy a peer better than a teacher.
Try not to demonstrate with your back to the group or from a spot where half of them can't see. It sounds obvious, but in a busy pool it happens all the time.
Where to stand on poolside
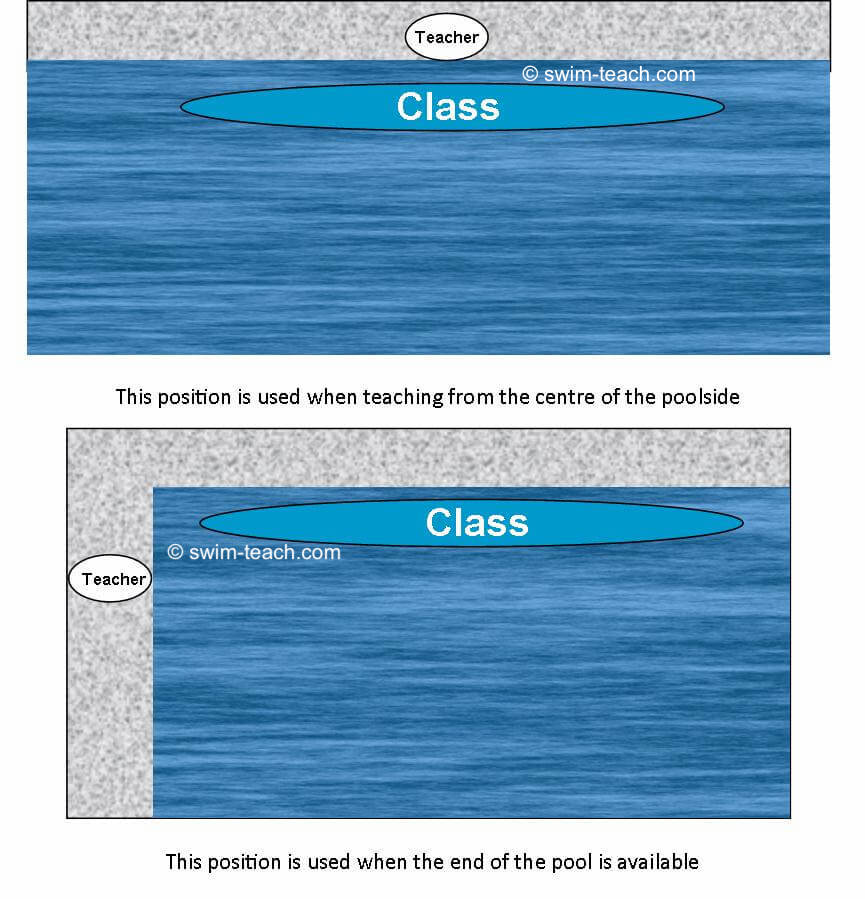
Your position decides how safe your class is and how much you actually see. Every swimmer should be able to see and hear you, and you should be able to see every swimmer at all times.
- In front of the group: best for explaining and demonstrating, with the group facing you and away from distractions.
- At an angle to the lane: lets you see swimmers coming towards you and going away, so you catch body position and arm action.
- Walking alongside: the best way to watch one part of the stroke closely, as long as you keep glancing back at the rest of the group.
- In the water: ideal for nervous beginners. Having an adult in the water is reassuring, and it's easier to communicate when the pool is noisy.
Whichever you choose, keep scanning the whole group every few seconds, even when you're helping one swimmer.
Watch first, then correct one thing
Before you correct anything, watch. Watch a full width or length, from more than one angle if you can. It is very common to correct the first fault you see, when it's really a symptom of something else. Sinking legs, for example, are often caused by the head lifting, not by a weak kick.
Then pick the one fault that will make the biggest difference to the whole stroke, and correct only that. Give a clear instruction about what to do, not what went wrong: "keep your chin on your chest", not "you lifted your head again". Then watch again to see whether it worked. If it did, move on to the next thing that's holding them back.
Telling or discovering: choosing your teaching style
Some skills need direct instruction: "stand here, push off, glide". Others are learned better by discovery, where you set a challenge and let the swimmer find out for themselves: "can you float with one hand in the air?", "how far can you glide without kicking?"
Children in particular learn a huge amount through discovery. Give them lots of ways to move, jump, float and sink, and they'll learn almost by accident. The key is that the swimmer should want to try it. Forcing a nervous swimmer into an activity usually knocks their confidence back.
Most good lessons use both. Tell them what to do when safety or technique depends on it, and let them explore when confidence is what you're building.
When it doesn't click, change the words
Even with all the right techniques, some swimmers just won't understand your first explanation. That's not a failure of the technique; it's language. One swimmer needs a direct instruction, another needs a picture in their head, another needs to feel it. If your usual cue isn't working, try a different kind of cue, not the same one louder.

When your usual explanation isn’t working…
Every swimmer hears things differently. Sometimes you say a cue three times and it still doesn’t click. Often the problem isn’t the swimmer, it’s simply the words. The Swimming Teacher’s Phrase Book gives you hundreds of alternative cues and phrases for every skill, from water confidence to all four strokes. It also has a quick-reference section organised by the problem in front of you. (Have a look at an instant preview)
Common questions
What is the whole-part-whole method in swimming?
The swimmer tries the whole stroke, practises the part that needs most work with a drill, then puts the whole stroke back together. It makes sure each drill actually improves the full stroke.
What does BLABT stand for?
Body position, legs, arms, breathing, timing: the five parts of every stroke. It's a useful way to remember them and a handy checklist when you're watching a swimmer. It used to be taught as a fixed order for teaching the parts, but most teachers now start with whichever part the swimmer needs most.
Which part of the stroke should I teach first?
Whichever part is holding the swimmer back most. Watch the whole stroke, find the biggest problem, and start there. For complete beginners, body position and confidence in a glide often come first, simply because everything else depends on them.
Is the shallow water or deep water method better?
Neither is better on its own. Shallow water suits beginners and nervous swimmers; deep water builds stamina and real confidence once they're ready. Most swimmers need both.
Where should a swimming teacher stand?
Wherever every swimmer can see and hear you and you can see all of them, usually in front of the group to explain, and at an angle or walking alongside to watch.
For your next lesson
For now, focus on one technique: whole-part-whole. Start your main theme with the full stroke, pick one part to drill, then finish with the full stroke again and watch closely. If it's better, the drill worked. If it isn't, you've learned something too.
Good teaching techniques aren't about doing more. They're about doing the simple things well, every lesson. Keep going.
Fine-tune Your Swimming Teaching Techniques
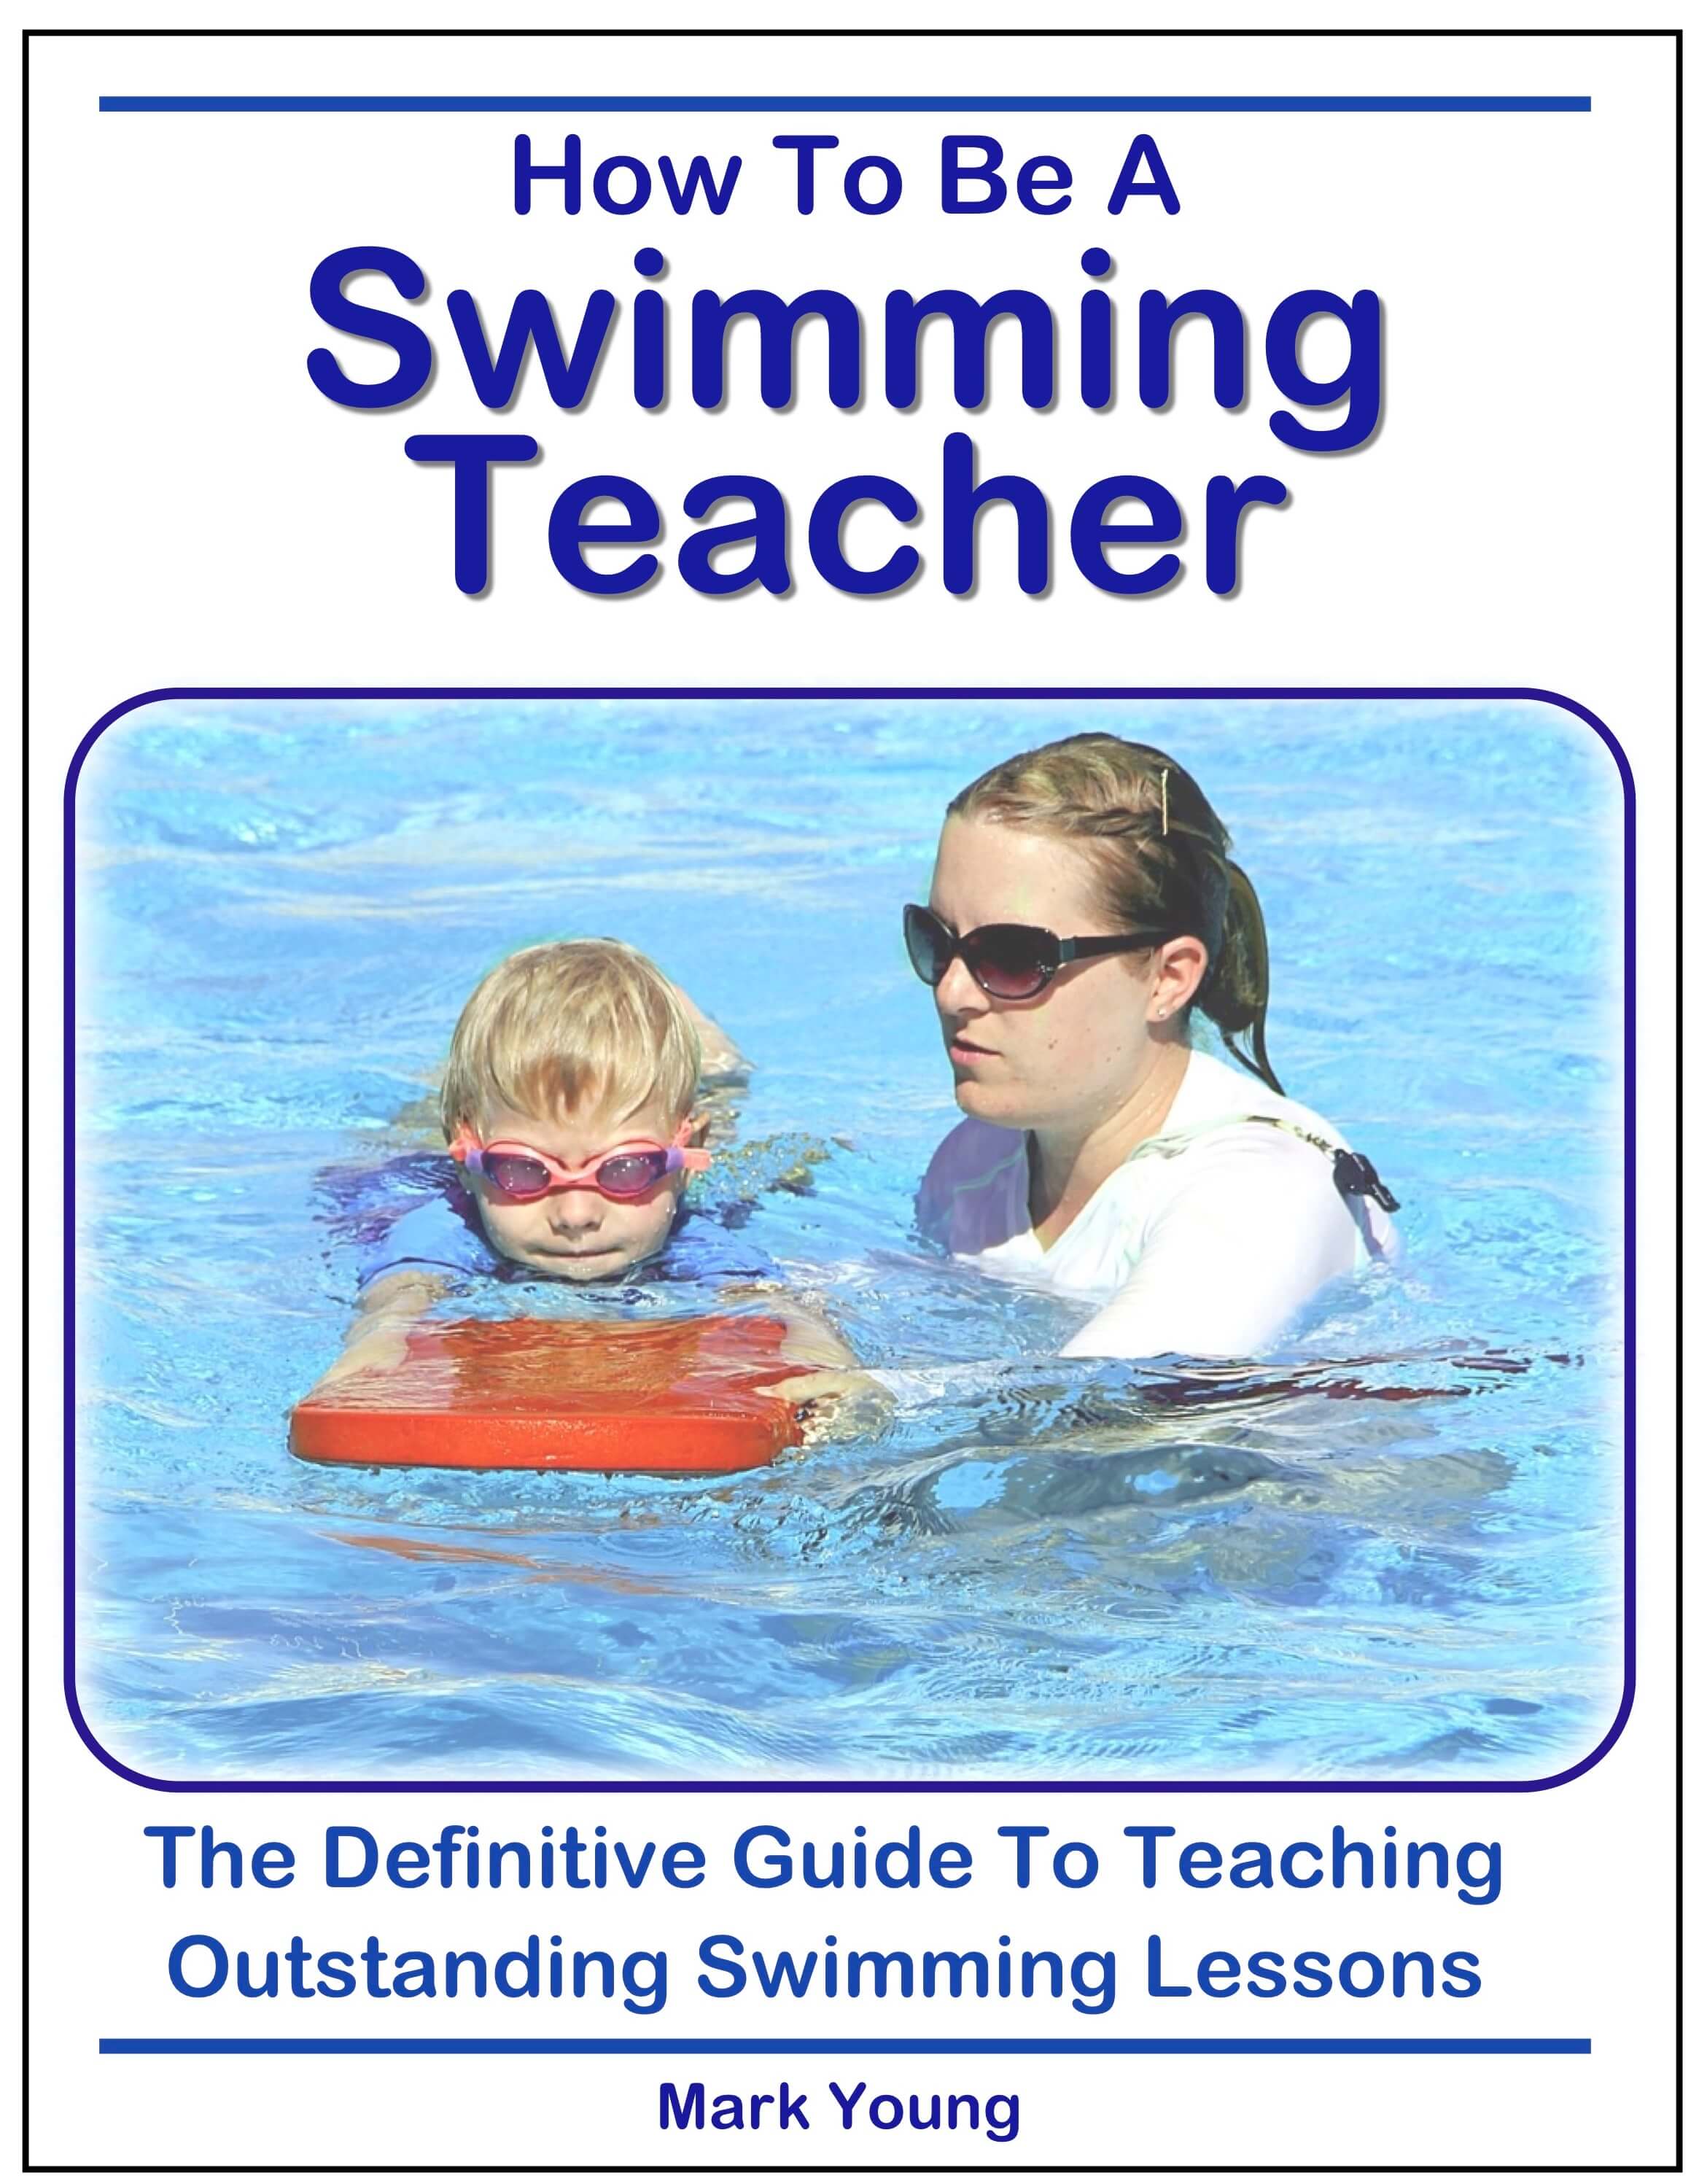
The Definitive Guide To Teaching Outstanding Swimming Lessons.
I am a member of the Amazon Associates Program and I will earn a commission from qualifying purchases at no extra cost to you.
|
Buy a PRINTED copy from: |
 |

 |
Thanks for checking out my website and all the information here about learning to swim and teaching swimming. I really hope you have found some inspiration and support. If you're as passionate about teaching swimming and learning to swim as I am, feel free to follow me on any of these channels: Cheers!  |
Thanks for checking out my website and all the information here about learning to swim and teaching swimming. I really hope you have found some inspiration and support.
If you're as passionate about teaching swimming and learning to swim as I am, feel free to follow me on any of these channels:
Cheers!
All Rights Reserved