- Swim Teach Home
- Front crawl
How to Teach Front Crawl
By Mark Young
If you've ever watched a swimmer thrash their way down the pool, arms windmilling, head up, legs somewhere near the bottom, and wondered where on earth to start, you're in good company. Front crawl is the stroke everyone wants to swim, and it's the one that falls apart most easily.
That's normal. Front crawl asks a swimmer to do several things at once: stay flat, kick, pull, turn their head to breathe and keep it all in time. Most of the swimmers I teach can manage two or three of those quite happily. It's putting all of them together that causes the trouble.
So the main thing is not to teach front crawl all at once. Break it down, fix one part at a time, and then put it back together.
Teach It One Part at a Time
I break every stroke down using BLABT: Body position, Legs, Arms, Breathing and Timing. It's simple, it's easy to remember on poolside, and it gives you a logical order to work through.
Some teachers like to start with a go at the full stroke and then break it down. Others build it up part by part from the very beginning. Both work, and it's partly a matter of preference. Personally, I like swimmers to have a go at the whole thing first, because it shows me what needs the most work, and then I go back to the parts.
Whichever way you choose, keep coming back to the full stroke. Practising the parts is only useful if they end up working together.
Body Position: Get Them Flat First
Everything in front crawl depends on body position. If the swimmer is flat and streamlined, the rest has a fighting chance. If they're angled in the water, every other part becomes harder work.
What you're looking for is a long, flat shape. The face is in the water, with the water line around the forehead, and the eyes look down and slightly forward. Shoulders level, legs in line with the body, and the head kept still in the middle.

One of the most common things I see is a weak push-off, with the arms stretched out after the push rather than before it. Start with push and glides, and get the shape right before anything else is added.
Try: "Stretch out long, like an arrow." Then ask them to hold the glide for a count of three before they stand up.
The Leg Kick: Steady, Not Hard
The kick comes from the hips, with the legs close together, only a slight bend at the knee, relaxed ankles and pointed toes. The feet should just break the surface, making a small splash rather than a fountain.

Many swimmers, children and adults alike, are convinced that the harder they kick, the faster they'll go. It's the quickest route to exhaustion I know, with very little distance to show for it. In front crawl the kick is mainly there to keep the body balanced and level, not to power the swimmer along.
If you find the feet are coming right out of the water, or the kick is coming from the knee, the chances are the swimmer is trying too hard. Slow them down.
Cues that work well: "Kick from your hips", "Floppy feet" and "Make your legs into flippers".

When your usual explanation isn’t working…
Every swimmer hears things differently. Sometimes you say a cue three times and it still doesn’t click. Often the problem isn’t the swimmer, it’s simply the words. The Swimming Teacher’s Phrase Book gives you hundreds of alternative cues and phrases for every skill, from water confidence to all four strokes. It also has a quick-reference section organised by the problem in front of you.
The Arms: Catch, Pull, Recover
The arm action gives front crawl most of its propulsion. The fingertips enter first, thumb side down, in line with the shoulder. The hand pulls back under the body all the way to the hip, then the elbow leads the arm out of the water and the fingertips skim forward over the surface.

Typical faults are short pulls that stop at the waist, fingers spread apart, pulls that go too deep, and straight arms swinging round on the recovery (the windmill, as I call it).
Single-arm practice with a float held in the other hand is a great way to slow everything down so you can actually see what each arm is doing. Try "Pull to your pocket" for the short pull and "Elbow out first" for the recovery.
Breathing: Where It Usually Goes Wrong
Be honest, this is the part you've been waiting for. Breathing is where most front crawl strokes come unstuck.

The head should roll to the side to breathe, just enough for the mouth to clear the water, with one ear staying in. What usually happens is the head lifts forward, the legs sink, and the whole stroke stalls. The other common culprit is holding the breath underwater, which leaves the swimmer trying to breathe out and in at the same time in a split second. No wonder they panic.
So teach the breath out first, with bubbles at the wall, and only then the roll to the side. Children respond brilliantly to "look at the fish, then listen to the fish". With adults, "look at your shoulder" usually does the trick.
There's a lot more to this than fits here, so I've written a full step-by-step progression for how to teach front crawl breathing, including the most common faults and how to fix them.
Timing: Putting It All Together

Timing is the part that turns a set of separate actions into a stroke. The arms should be smooth and continuous, without pausing, while the legs keep kicking steadily underneath.
Most swimmers settle into a six-beat kick (six kicks to each full arm cycle), but plenty of adults, beginners in particular, end up with a slower two- or four-beat rhythm. Honestly, as long as it's smooth and balanced, I wouldn't worry too much about which.
The one fault to watch for is the kick stopping when the arms start. It's very common, and usually it's simply a case of too much to think about at once. 'Catch-up front crawl' helps, because it slows the arms down and gives the legs a chance to keep going.
Try counting the kicks out loud: "one, two, three" on each arm pull.
Lesson Plans for Each Part of the Stroke
If you'd like a ready-made lesson for each part, I've set out five complete front crawl lesson plans (body position, leg kick, arm pull, breathing and timing) on my page on how to teach freestyle swimming. Each one has the exercises, teaching points and contrasting activities laid out, so you can take it straight onto poolside.
Keep in Mind
You're the one standing on the poolside watching your swimmers, so you'll know better than any page what suits each of them. Some will need weeks on body position. Others will be ready for breathing in their second lesson.
And be realistic. Sometimes the answer isn't another drill, it's simply more time in the water. Front crawl is tiring until it's efficient, and stamina only comes with practice. A swimmer who gets breathless after a width isn't failing. They're learning.
Next Time You're on Poolside
For your next front crawl lesson, try this: watch one full width of front crawl before you teach anything, and pick just one part of the stroke to work on. Not five. One.
Then give one short cue, and keep giving the same one until it sticks.
Front crawl rarely clicks overnight, for the swimmer or the teacher. Fix one part at a time, keep going, and it will come together.
Front Crawl Cues at a Glance
- Body position: "Stretch out long, like an arrow."
- Leg kick: "Kick from your hips" and "Floppy feet."
- Arms: "Pull to your pocket" and "Elbow out first."
- Breathing: "Look at your shoulder" (adults) or "Look at the fish, then listen to the fish" (children).
- Timing: count "one, two, three" kicks on each arm pull.
These are just a handful. When a swimmer still isn't getting it, the Front Crawl Teaching Toolkit has plenty more ways to say it.
Everything for Teaching Front Crawl in One Place
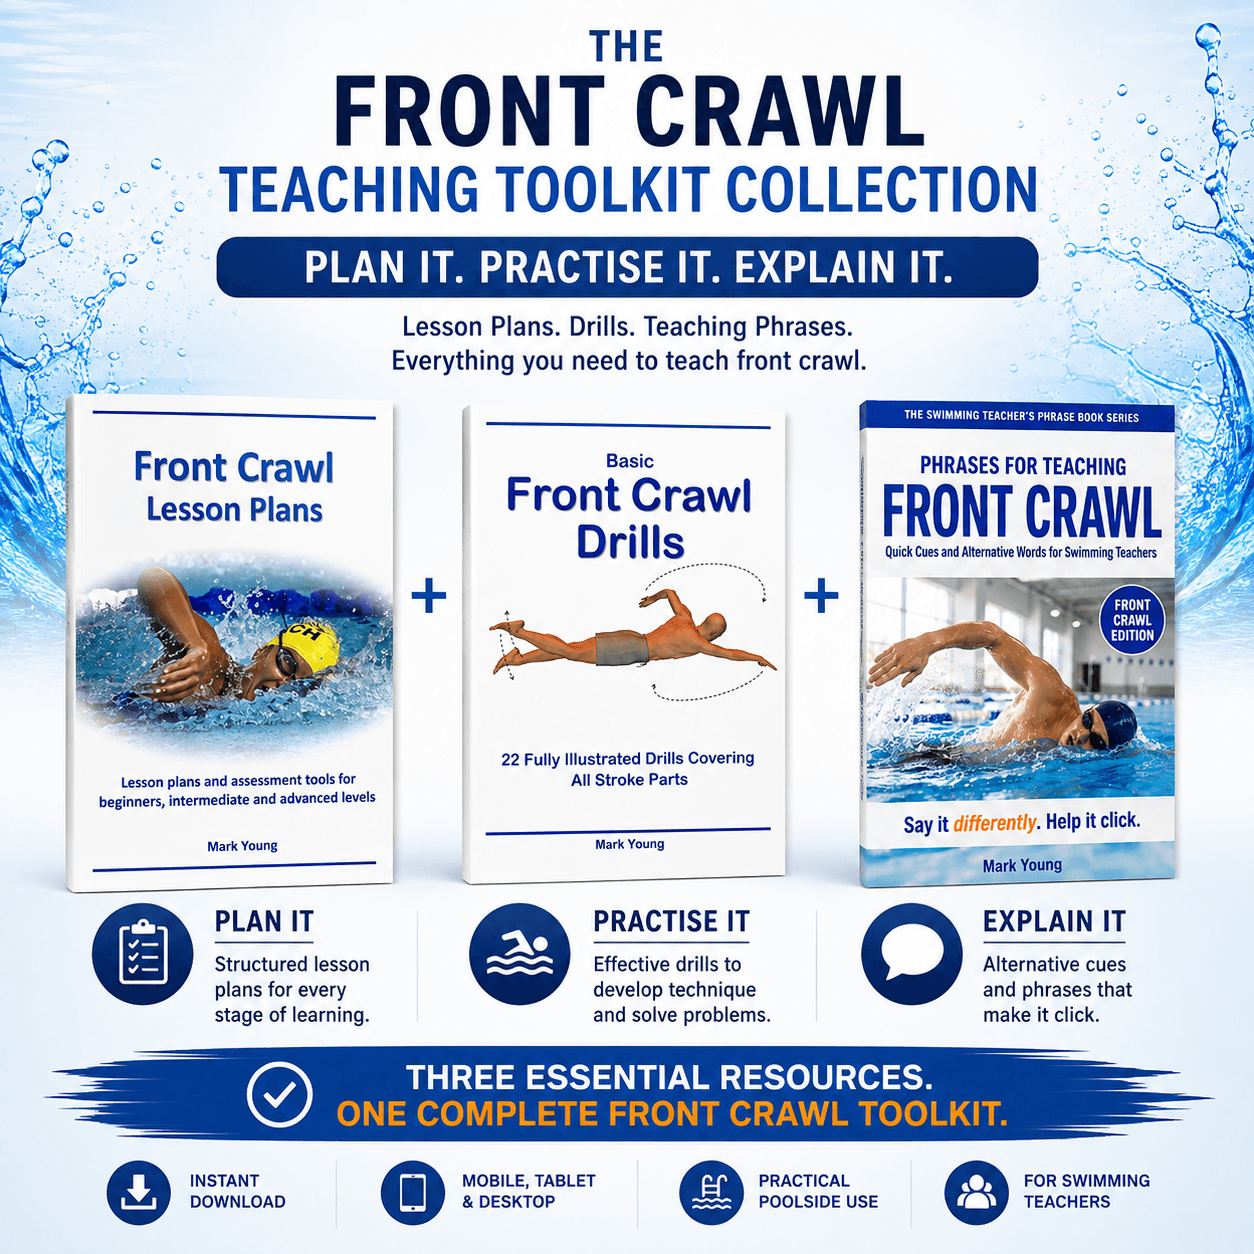
When a swimmer gets stuck, you need something to reach for: a progression to follow, a drill to try, or another way to explain it. The Front Crawl Teaching Toolkit brings together my front crawl lesson plans, drills and teaching phrases, so you always have a next step ready.

 |
Thanks for checking out my website and all the information here about learning to swim and teaching swimming. I really hope you have found some inspiration and support. If you're as passionate about teaching swimming and learning to swim as I am, feel free to follow me on any of these channels: Cheers!  |
Thanks for checking out my website and all the information here about learning to swim and teaching swimming. I really hope you have found some inspiration and support.
If you're as passionate about teaching swimming and learning to swim as I am, feel free to follow me on any of these channels:
Cheers!
All Rights Reserved