- Swim Teach Home
- teach breaststroke
How to Teach Breaststroke: The Order, the Drills and the Common Faults
By Mark Young
Breaststroke is one of the trickiest strokes to teach, and if you've ever watched a swimmer kick hard and go nowhere, you'll know why. The good news is that it's very teachable once you break it down and teach the parts in the right order.
The short version: teach the legs first, because they give breaststroke most of its power and cause most of the problems. Then add the arms, then the breathing, and finally the timing: pull, breathe, kick, glide. Below is how I teach each part, the drills I use, what I say on poolside, and how to fix the faults you'll see most.
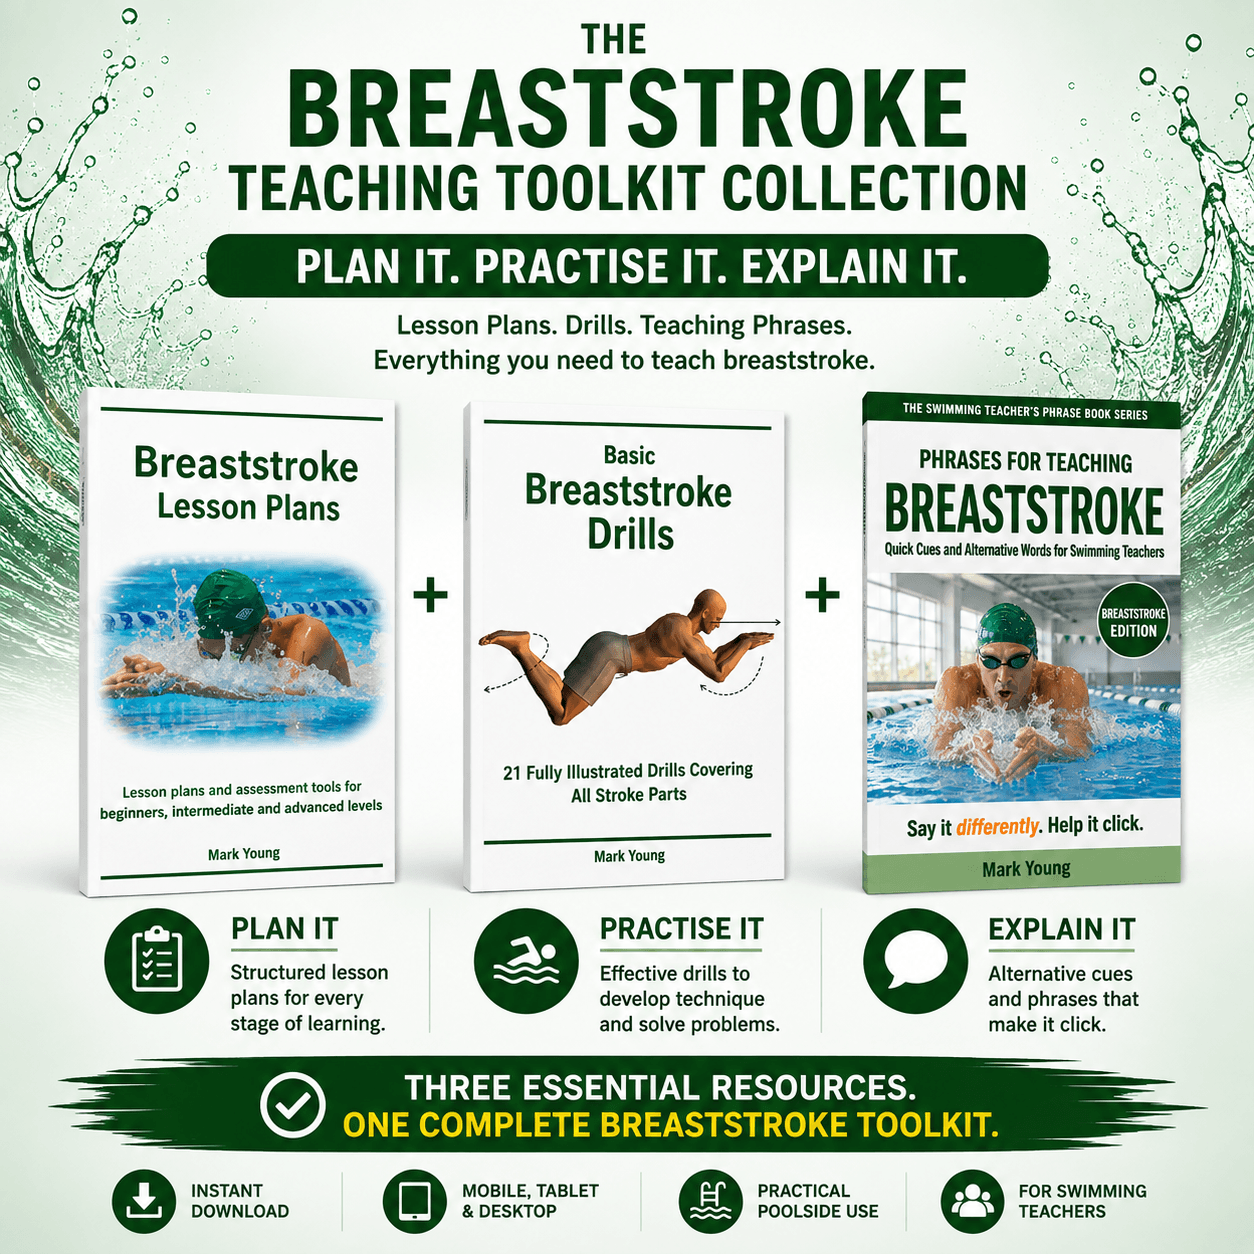
Plan it, practise it, explain it: the Breaststroke Teaching Toolkit
Everything on this page, done for you. The toolkit gives you 18 ready-made breaststroke lesson plans, 20+ drills covering every part of the stroke, and my Phrases for Teaching Breaststroke, so you always have another way to explain it when a swimmer gets stuck.
What good breaststroke looks like
Before you teach it, it helps to have a clear picture in your head of what you're aiming for.
- Body position: as flat and streamlined as possible, sloping gently down from head to feet, so the legs can recover under the water.
- Legs: the main source of power. Heels draw up towards the bottom, feet turn out, then the legs drive back and round in a whip-like circle and finish together, straight, toes pointed.
- Arms: a small, quick pull in front of the body. The hands sweep out, round and in, the elbows tuck, and the hands shoot forward into a glide.
- Breathing: the head lifts naturally at the end of the arm pull. Breathe in, then breathe out as the face goes back in and the arms stretch forward.
- Timing: pull, breathe, kick, glide. When the arms work, the legs are still; when the legs kick, the arms are stretched out in front.
The biggest thing to keep in mind is that breaststroke is a stroke of two halves that take turns. Most problems come from those halves overlapping.

The order I teach it in
Every swimmer is different, but this order works for most beginners, children and adults alike.
- Push and glide: a long, streamlined shape on the front.
- Legs: on the poolside, on the back, then on the front with a float.
- Arms: standing, walking through the water, then with a float or pull buoy.
- Breathing: added to the arms, then to arms and legs together.
- Timing: the full stroke, slowly, with a long glide.
If a swimmer struggles at any stage, go back a step. It is very common to have to revisit the legs several times. That's not a sign you're doing it wrong; it's just breaststroke.
Teaching the breaststroke legs
The kick is the hardest part to get right, so spend the most time here. The main thing swimmers have to learn is to turn their feet out. Without that, there's nothing to push the water back with, and they'll feel like they're kicking and going nowhere.
Drills I use, in this order:
- Sitting on the poolside with feet in the water. The swimmer can see their own feet, so it's the easiest place to learn the shape.
- On the back with a woggle under the arms. They can sit up slightly and watch their feet turn out as they kick. Slow motion first.
- Holding the poolside on the front. Gentle kicks, no force, to feel the circle.
- Holding a float out in front. Now they're moving, so you can see whether the kick actually drives them forward.
- Push and glide, adding kicks. One kick, glide, one kick, glide.
What I say:
- "Heels to your bottom, toes to your knees."
- "Kick round in a circle, like drawing a big letter O."
- "Kick, then glide. Make the glide last."
Teaching the breaststroke arms
The arms are where swimmers try too hard. It is very common to see a huge, wide pull right back to the hips, because it feels powerful. In fact, it slows the swimmer down and wrecks the timing. The pull should be small and stay in front of the shoulders.
Drills I use:
- Standing on the poolside or in shallow water. Slow and in stages, so they can see the shape.
- Walking through shoulder-deep water. They feel the water on their hands, and the hands must stay in front of them all the time.
- With a woggle under the arms, or a pull buoy between the legs. Now the arms can practise without the legs getting in the way.
What I say:
- "Pull round and in, then shoot your hands forwards."
- "Draw an upside-down heart with your hands."
- "Keep your hands where you can see them."
Teaching breaststroke breathing
Breaststroke gives a natural lift at the end of the arm pull, which is the perfect moment to breathe. The two faults I see most are lifting the head too high, which sinks the legs, and holding the breath, which leaves the swimmer gasping after a width.
Start with standing practice: arms pull, head lifts, breathe in; arms stretch forward, face goes in, breathe out. Then add it to the arms with a woggle, and finally to the kick holding a float out in front.
What I say:
- "Breathe in as your hands come in. Blow out as they go forward."
- "Chin just clears the water. No higher."
- "Blow your hands forward."
Putting it together: the timing
Timing is where breaststroke either clicks or falls apart. Because the arms and legs work at the same time on each side, the natural instinct is to pull and kick together. They fight each other and the swimmer stops dead.
The sequence is pull, breathe, kick, glide. A simple way to put it is "kick your hands forward": as the legs drive back, the arms are shooting forwards into the glide.
Drills I use:
- Slow practice with a woggle under the arms. Exaggerate every part.
- Push and glide, then add one stroke cycle, then glide again.
- Two kicks, one pull. It forces the swimmer to separate the arms and legs.
What I say:
- "Pull, breathe, kick, glide."
- "Arms first, then legs. Never both at once."
- "Stretch out and count to two in the glide."
If one of these cues doesn't work, don't say it louder; say it differently. Every swimmer hears things in their own way, which is why the Breaststroke Teaching Toolkit includes a whole book of alternative breaststroke cues.
Common breaststroke faults and how to fix them
The feet don't turn out. The swimmer kicks hard and goes nowhere. Go back to kicking on the back with a woggle, where they can see their feet, and slow everything down.
A screw kick: one foot turns out, the other doesn't. One leg works, the other swings round and does nothing. Again, kicking on the back lets them see it. Ask them to make both feet look the same.
The arms pull too wide or too far back. The hands end up by the hips and the recovery is slow and heavy. Walking practice in shoulder-deep water, keeping the hands in front of the body, usually fixes it.
The arms and legs work at the same time. They cancel each other out. Use two kicks, one pull, and keep saying "kick your hands forward".
There's no glide. The swimmer rushes from one stroke into the next and tires quickly. Ask for a count of two in the glide, and praise the stretch, not the speed.
The head lifts too high to breathe. The hips and legs sink. "Chin just clears the water" is usually enough.
A sample breaststroke lesson plan
Here's a 30-minute lesson I use for a first go at full stroke breaststroke, with adult or child beginners. It follows the same shape as all my lessons: entry, warm up, main theme, contrasting activity, exit.
| Activity | Teaching point | Organisation | Time |
|---|---|---|---|
| Entry: swivel or steps entry | enter slowly | all together | 1 min |
| Warm up: 2 widths any stroke, with buoyancy aids if needed | take your time | all together | 3 mins |
| Main theme: full stroke, slowly, with a woggle under the arms | pull in a circle, kick in a circle | all together | 2 mins |
| Push and glide, holding floats if needed | stretch out and relax | waves | 3 mins |
| Kicking on the back with a woggle under the arms | turn out your feet | waves | 3 mins |
| Arm pulls, walking through shallow water | keep your hands underwater | waves | 4 mins |
| Arm pulls with breathing, woggle under the arms | blow your hands forwards | waves | 3 mins |
| Full stroke, with buoyancy aids if needed | pull, then kick | waves | 3 mins |
| Contrasting activity: supine star float | stretch out and relax | 2 or 3 at a time | 3 mins |
| Sitting dive through a hoop at the surface | head tucked down | 2 or 3 at a time | 3 mins |
| Exit: pool steps or over the poolside | take your time | one by one | 1 min |
| Total | 29 mins | ||
If you want a full set of breaststroke lessons, with the drills and the words to go with them, they're all in my Breaststroke Teaching Toolkit.
Common questions
Should I teach the breaststroke legs or arms first?
Legs first, for most swimmers. The kick gives most of the power and is the hardest part to learn, so it needs the most time.
Whip kick or wedge kick?
There's no single right answer. A whip kick keeps the knees closer together; a wedge kick sweeps wider. Most swimmers find one comes more naturally, so go with that and make sure the feet turn out.
Why does my swimmer kick hard and go nowhere?
Nearly always the feet aren't turning out. Kicking on the back with a woggle, where they can watch their feet, is the quickest fix.
Should beginners learn breaststroke or front crawl first?
Many adults prefer breaststroke first because the head can stay out of the water. Children often learn front crawl first. Follow the swimmer.
For your next breaststroke lesson
For now, focus on one thing: the feet. Put your swimmers on their backs with a woggle, ask them to watch their feet as they kick, and see how many of them are really turning out. You'll learn more in two minutes than in a whole lesson of watching from the side.
Breaststroke takes patience, for the swimmer and the teacher. Keep it slow, keep the glide long, and it will come.

 |
Thanks for checking out my website and all the information here about learning to swim and teaching swimming. I really hope you have found some inspiration and support. If you're as passionate about teaching swimming and learning to swim as I am, feel free to follow me on any of these channels: Cheers!  |
Thanks for checking out my website and all the information here about learning to swim and teaching swimming. I really hope you have found some inspiration and support.
If you're as passionate about teaching swimming and learning to swim as I am, feel free to follow me on any of these channels:
Cheers!
All Rights Reserved