- Swim Teach Home
- teaching backstroke
How to Teach Backstroke: The Drills, the Cues and the Common Faults
By Mark Young
Backstroke should be the easy one. The face is out of the water, breathing is simple, and there’s no head to turn. Yet plenty of swimmers spend their first few weeks sitting in the water like they’re in an armchair, kicking furiously and going nowhere.
That’s normal. Lying back with your ears in the water and nothing to look at but the ceiling feels very strange at first, and a nervous swimmer’s instinct is to lift their head and sit up. The moment they do, the hips drop and everything gets harder.
The short version: get the body position right first, because almost every backstroke problem starts there. Then build a steady kick, add the arms one at a time, and keep the legs going all the way through. Below is how I teach each part, the drills I use, what I say on poolside, and how to fix the faults you’ll see most.
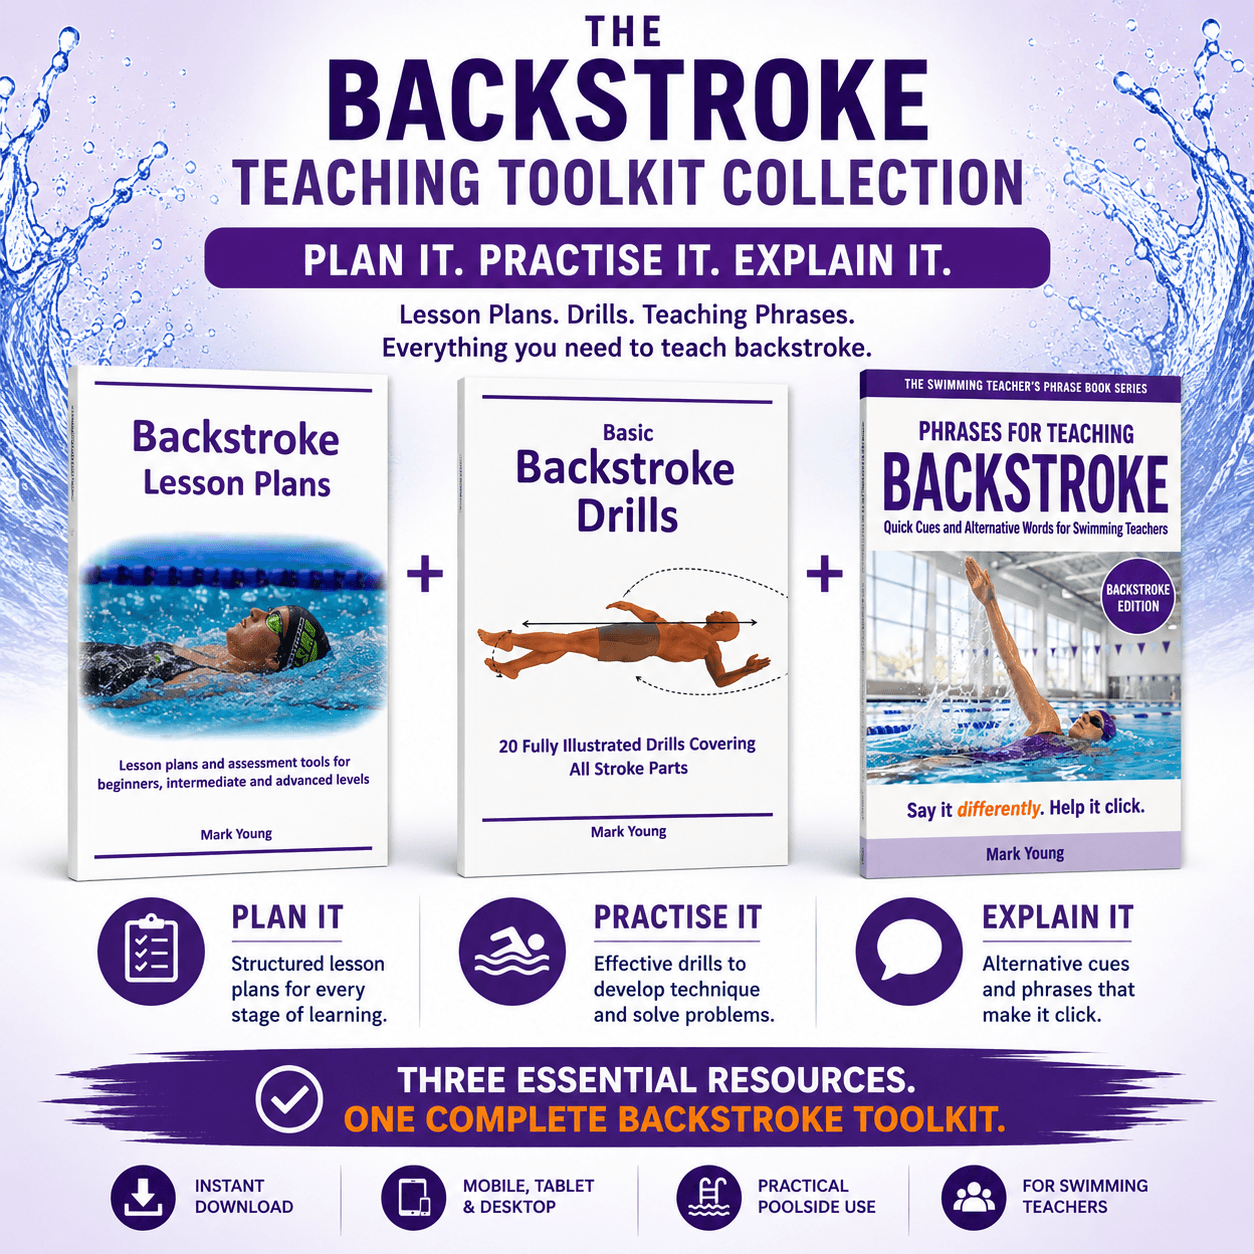
Plan it, practise it, explain it: the Backstroke Teaching Toolkit
Everything on this page, done for you. The toolkit gives you 18 ready-made backstroke lesson plans, 20+ drills covering every part of the stroke, and my Phrases for Teaching Backstroke, so you always have another way to explain it when a swimmer gets stuck.
What good backstroke looks like

Before you teach it, it helps to have a clear picture in your head of what you’re aiming for.
Body position: flat and streamlined on the back. The head is still, with the ears in the water and the eyes looking up. The hips stay close to the surface, and the shoulders roll a little with each arm pull.
Legs: a steady, continuous kick from the hips. The legs are long, the knees bend only slightly and stay under the water, and the ankles are relaxed, with pointed toes making a small splash at the surface.
Arms: a continuous windmill action. Each arm goes in little finger first, in line with the shoulder, pulls down to the side of the body and comes out thumb first.
Breathing: easy, because the face is clear of the water, but it should still be regular. Breathe in on one arm and out on the other.
Timing: the arms work one after the other, so as one goes in, the other comes out. The legs keep kicking the whole time, usually about three kicks to each arm pull.
The biggest thing to keep in mind is the head. Where the head goes, the hips follow.
Where to start
For beginners, I start with body position, because until a swimmer trusts the water to hold them on their back, nothing else will work. A good order for most beginners is:
Floating on the back, with floats under the arms or one held on the chest.
Push and glide on the back, first with a float, then without.
Legs, sitting on the poolside first, then on the back with a woggle or float.
Arms, one arm at a time with a float held on the chest.
Full stroke, slowly, keeping the kick going.
Once a swimmer can manage the full stroke, stop working through the parts in order. Watch them swim, find the part that’s holding them back most and work on that. Nine times out of ten with backstroke, it’s the head and hips.
Teaching backstroke body position
The fault you’ll see most is the “sitting” position: head lifted to look at the feet, hips sunk, and legs kicking down towards the pool floor. It nearly always comes from nerves or from the swimmer wanting to see where they’re going.
Drills I use:
- Floating on the back with a float under each arm. All they need to do is relax and keep still.
- Floating with one float held on the chest. Less support, same position.
- Push and glide on the back, holding a float. Then without one, and then adding a few kicks.
What I say:
“Ears in the water, eyes on the ceiling.”
“Push your tummy up to the surface.”
“Push off like a rocket.”
A nervous adult might need several lessons here, and that’s fine. Don’t move on until they’re relaxed.
Teaching backstroke leg kick
The kick keeps the hips up and the stroke balanced. It comes from the hips, not the knees. If you see knees popping out of the water, the swimmer is “cycling” and bending too much at the knee.
Drills I use:
- Sitting on the poolside, kicking. They can see their legs, so it’s the easiest place to learn the long-leg, floppy-feet kick.
- Kicking on the back with a woggle under the arms.
- Kicking with a float held behind the head. This lifts the hips and shows quickly whether the kick is working.
- Kicking with a float held on the chest, then a push and glide adding kicks.
What I say:
“Kick from your hips.”
“Long legs, floppy feet.”
“Keep your knees under the water.”
“Make the water boil at your toes.”
Teaching backstroke arms
For beginners, a straight-arm pull is fine. It’s simple and it keeps them moving. The bent-arm pull comes later, once the basic windmill is in place. What matters early on is where the hand goes in and that the arms keep turning.
Drills I use:
- Standing on the poolside, slowly turning the arms backwards, to show the shape.
- Single arm pulls with a float held on the chest, then the other arm.
- Single-arm pulls with the other arm held by the side. Now there’s no float to rely on.
- Full stroke, with the arms working continuously.
What I say:
“Little finger goes in first.”
“Thumb comes out first.”
“Brush your ear with your arm.”
“Pull down to your side.”
Teaching backstroke breathing
Breathing seems like a non-issue in backstroke, but plenty of swimmers hold their breath without realising it, then wonder why they’re exhausted after a width. Water splashing over the face also makes nervous swimmers hold their breath.
Teach a simple rhythm: breathe in as one arm recovers over the water, and breathe out as the other one does. A gentle breath out through the nose during a push and glide also stops water going up it, which is a very common complaint.
What I say:
“Breathe in on one arm, out on the other.”
“Breathe out as you push off.”
“Don’t hold your breath.”
Putting it together: the timing
The most common timing fault is a kick that stops whenever the arms pull. The hips drop straight away. The other is pausing with one arm by the thigh, so the stroke becomes stop-start rather than a continuous windmill.
Drills I use:
- Push and glide on the back, adding kicks, counting three kicks at a time.
- Single arm pull holding a float on the chest, counting three kicks to each pull.
- Full stroke, with three kicks to each arm pull.
What I say:
“One arm goes in as the other comes out.”
“Keep the legs kicking while the arms work.”
“Arms like a windmill. Never stop turning.”
Don’t worry about exact kick counts with beginners. A continuous kick matters far more than the number.
If one of these cues doesn’t work, don’t say it louder, say it differently. That’s why the Backstroke Teaching Toolkit includes a whole book of alternative backstroke cues, and why I keep my free poolside cue cards on my lanyard.
Common backstroke faults and how to fix them
Sitting in the water. Head up, hips down, legs kicking towards the floor. Go back to floating and push and glides, and use “ears in, tummy up”.
Knees breaking the surface. The kick is coming from the knees. Kicking on the poolside, then with a float behind the head, and “long legs, floppy feet” usually sorts it.
Arms crossing over the centre line. The hands go in behind the head and the swimmer snakes from side to side. Ask for “little finger in, in line with your shoulder”, and practise one arm at a time.
A pause at the thigh. One arm waits for the other. Single-arm practice, then “keep the arms turning”.
Swimming in a curve. Usually one arm is stronger, or the head is moving. Give them a fixed point on the ceiling to keep the head still.
Holding the breath. Tiredness after a width is the giveaway. Count the breathing rhythm out loud with them for a few widths.
A sample backstroke lesson plan
| Activity | Teaching point | Organisation | Time |
|---|---|---|---|
| Entry: swivel or steps entry | enter slowly | all together | 1 min |
| Warm up: 2 widths any stroke, with buoyancy aids if needed | take your time | all together | 3 mins |
| Main theme: kicking on the back with a woggle under the arms | relax and kick | all together | 2 mins |
| Push and glide on the back, holding floats if needed | hips up and stretch | waves | 3 mins |
| Kicking on the back with a float held on the chest | kick with pointed toes | waves | 3 mins |
| Single arm pulls with a float held on the chest | arm stretches up and back | waves | 3 mins |
| Single arm pulls with the other arm, float on the chest | fingers together | waves | 3 mins |
| 2 widths full stroke backstroke | kick and pull continuously | waves | 3 mins |
| Contrasting activity: star float on the front | deep breath and relax | 2 or 3 at a time | 3 mins |
| Sitting dive through a hoop at the surface | head tucked down | 2 or 3 at a time | 3 mins |
| Exit: pool steps or over the poolside | take your time | one by one | 1 min |
| Total | 28 mins |
If you want a full set of backstroke lessons, with the drills and the words to go with them, they’re all in my Backstroke Teaching Toolkit.
Common questions
Should beginners learn backstroke before front crawl?
It depends on the swimmer. The face stays out of the water, which suits some beginners. Others hate lying back and not seeing where they’re going. Follow the swimmer, not the textbook.
Straight arm or bent arm pull?
Straight arm for beginners, because it’s simpler and keeps them moving. Introduce the bent-arm pull once the windmill action and the kick are steady.
How many kicks should there be to each arm pull?
Usually about three, so six for a full cycle of both arms. With beginners, don’t count. Just make sure the kick never stops.
Why does my swimmer keep getting water up their nose?
Very common, especially on the push-off. Ask them to breathe out gently through the nose, or hum, as they push away from the wall.
How do I stop swimmers bumping into the wall?
Teach them to count their strokes from the backstroke flags, and to keep one hand reaching ahead as they come in to finish.
For your next backstroke lesson
For now, focus on the head. Watch your swimmers push and glide on their backs and see how many lift their heads to look at their feet. Fix that one thing with “ears in, eyes on the ceiling”, and you’ll often see the hips come up and the kick improve without saying another word.
Backstroke rewards a relaxed swimmer. Keep it calm, keep the kick going, and it will come.
If you’re teaching all four strokes, here’s how I teach front crawl, breaststroke and butterfly.

 |
Thanks for checking out my website and all the information here about learning to swim and teaching swimming. I really hope you have found some inspiration and support. If you're as passionate about teaching swimming and learning to swim as I am, feel free to follow me on any of these channels: Cheers!  |
Thanks for checking out my website and all the information here about learning to swim and teaching swimming. I really hope you have found some inspiration and support.
If you're as passionate about teaching swimming and learning to swim as I am, feel free to follow me on any of these channels:
Cheers!
All Rights Reserved